Building Bobcat Cubbies with Pics
Aug 21, 2007 0:08:20 GMT -5
Post by Deleted on Aug 21, 2007 0:08:20 GMT -5
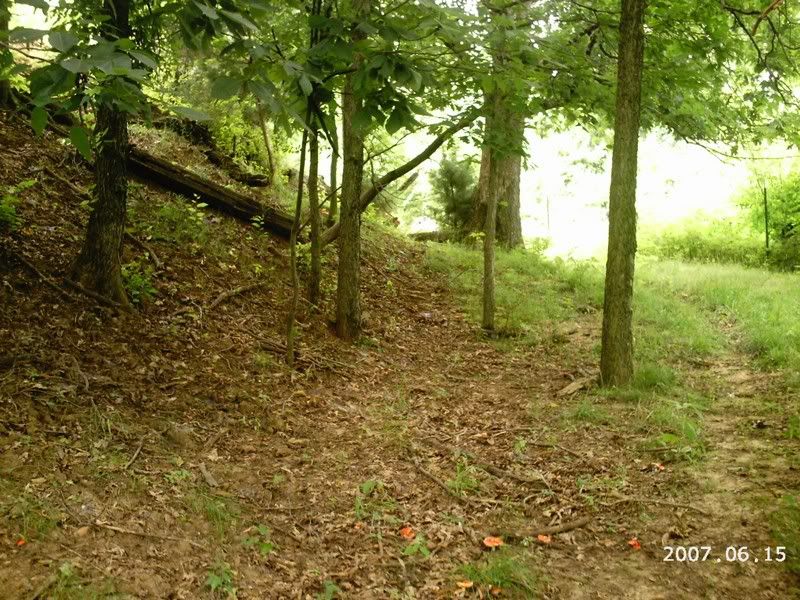
The first thing is just like realty location, location, location. We have here on the first pic a bluff line and where it comes into a bottom. It is even pinched down further by the fense at the end of bluff. I chose this location for its funneling effect. This location should pull them by the cubbie.
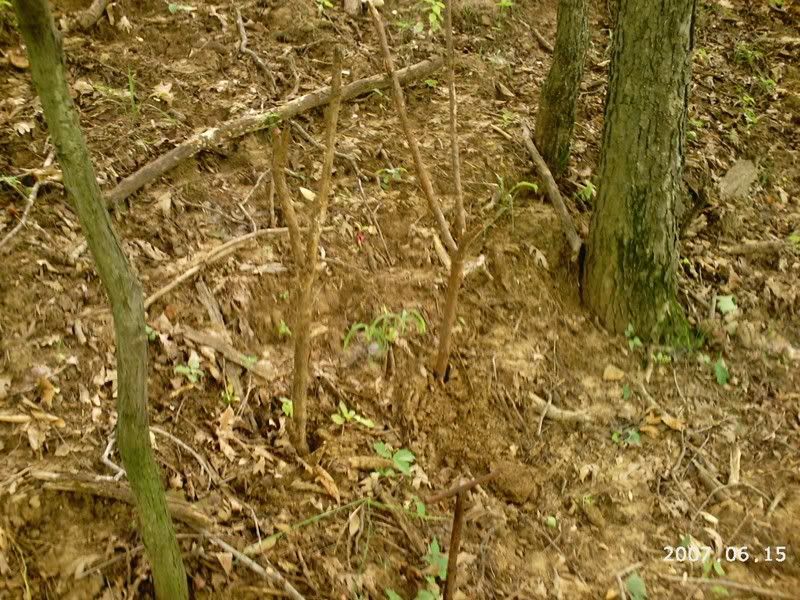
The second pic shows the location i chose for the cubbies construction. I start by finding 2 forked sticks about 2 ft long and setting them for my base of construction.
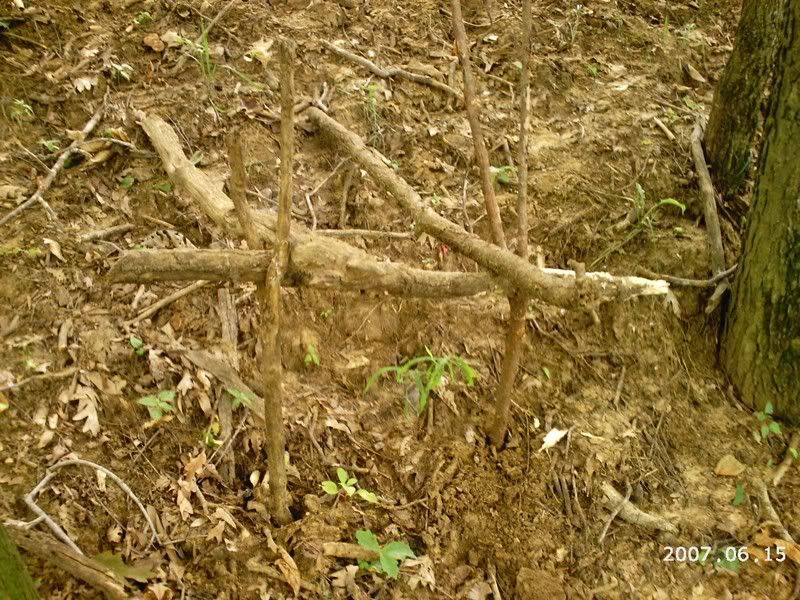
The following pic shows the upper beam that is put between your forked sticks. Then upon that you run your main ceiling beams off that beam. Now we have the basic set up for your cubbie.
The next pic shows how to set the top and sides of cubbie using what is at hand limbs and other brush busted up at the proper length to fill in the gaps.

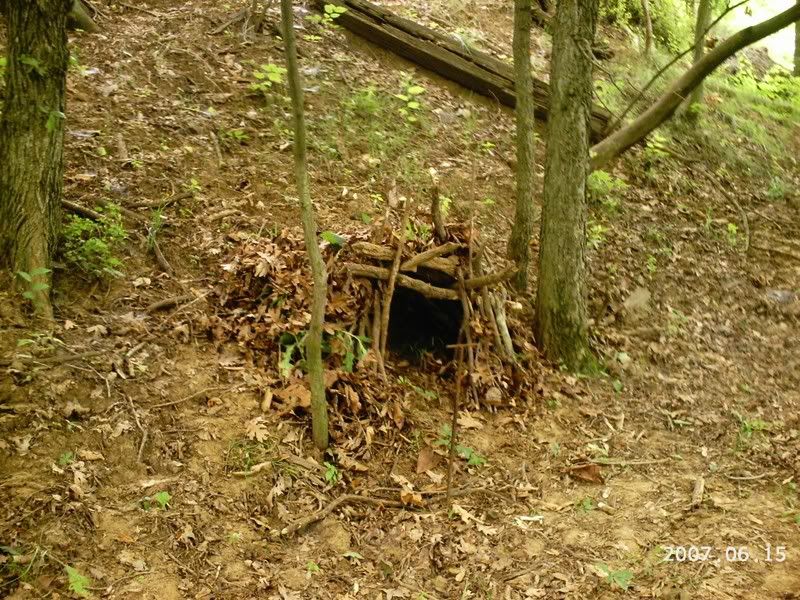
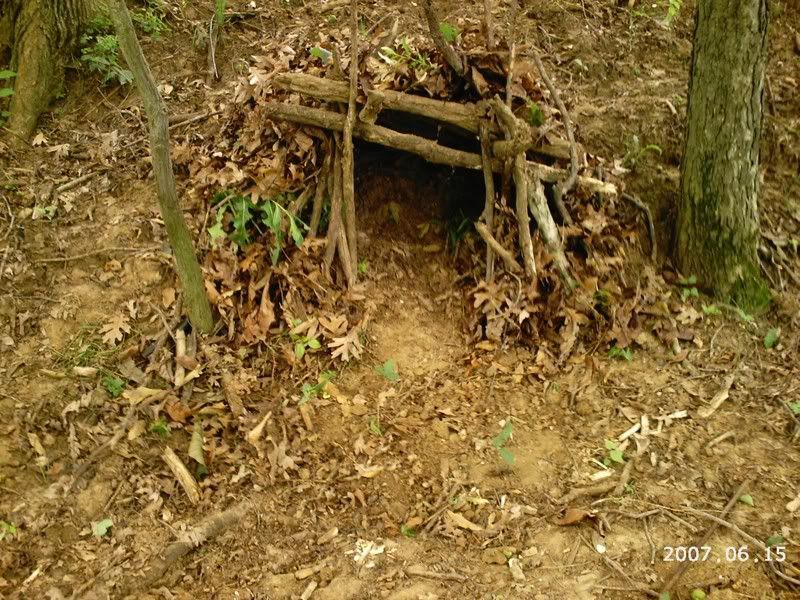
The next pic shows the final step in the construction. Cover all the exposed shell with green and dry leafy material or dirt which ever you prefer. Now the cubbie has taken its shape and you have the dark opening into which they will investigate.
The next step is to place your set up in the front entrance to the cubbie. For this one i chose a sterling MJ600 with kinkless chain set on a drag. Why the drag you ask. Hopefully he will drag the trap and himself away from cubbie. This way the cubbie will stay intact and be used again.
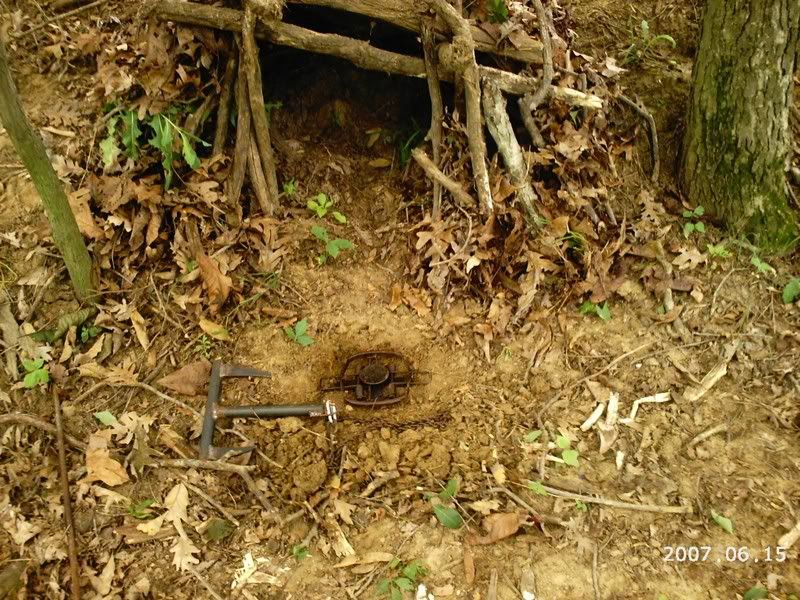
The next pic shows my trap bed and trap placement. Along with the drag attached by one prong to the tree next to cubbie. This may hold him there but he should be able to be held long enough for trap to get a good hold.
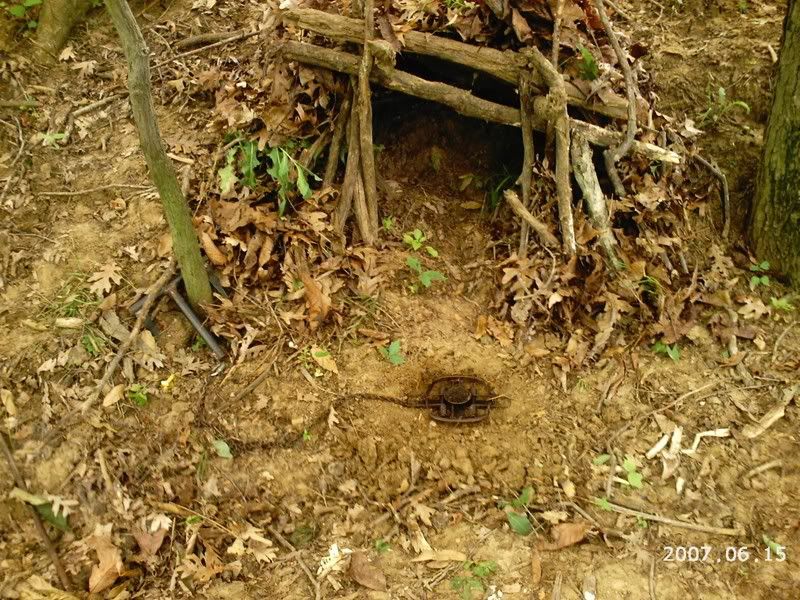
The next pic shows the trap set and drag covered. Now the set only needs to be baited and lured. These peseason set ups are best as they do take time to set them up. Setting them now makes opening day easier. And gives the animal a chance to get used to seeing them and have no fear of them. This equals a faster catch. And more catches.
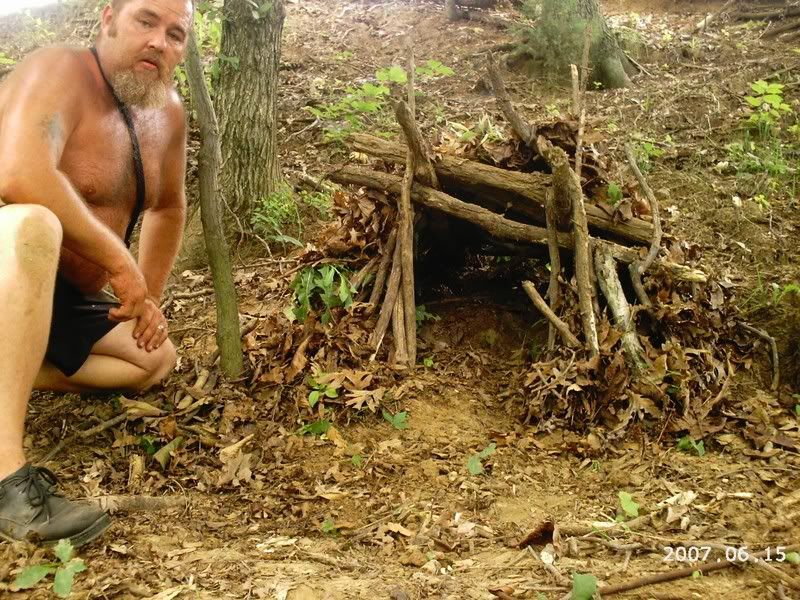
Now the next pic shows me next to the finished set to give you some perspective as to the size of the cubbie. I hope this has been useful for all the new trappers that would like to catch there first cat.
The second pic shows the location i chose for the cubbies construction. I start by finding 2 forked sticks about 2 ft long and setting them for my base of construction.
The following pic shows the upper beam that is put between your forked sticks. Then upon that you run your main ceiling beams off that beam. Now we have the basic set up for your cubbie.
The next pic shows how to set the top and sides of cubbie using what is at hand limbs and other brush busted up at the proper length to fill in the gaps.
The next pic shows the final step in the construction. Cover all the exposed shell with green and dry leafy material or dirt which ever you prefer. Now the cubbie has taken its shape and you have the dark opening into which they will investigate.
The next step is to place your set up in the front entrance to the cubbie. For this one i chose a sterling MJ600 with kinkless chain set on a drag. Why the drag you ask. Hopefully he will drag the trap and himself away from cubbie. This way the cubbie will stay intact and be used again.
The next pic shows my trap bed and trap placement. Along with the drag attached by one prong to the tree next to cubbie. This may hold him there but he should be able to be held long enough for trap to get a good hold.
The next pic shows the trap set and drag covered. Now the set only needs to be baited and lured. These peseason set ups are best as they do take time to set them up. Setting them now makes opening day easier. And gives the animal a chance to get used to seeing them and have no fear of them. This equals a faster catch. And more catches.
Now the next pic shows me next to the finished set to give you some perspective as to the size of the cubbie. I hope this has been useful for all the new trappers that would like to catch there first cat.